Use CodeGate with Continue
Continue is an open source AI coding assistant for your IDE that connects to many model providers. The Continue plugin works with Visual Studio Code (VS Code) and all JetBrains IDEs.
CodeGate works with the following AI model providers through Continue:
You can also configure CodeGate muxing to select your provider and model using workspaces.
Install the Continue plugin
- VS Code
- JetBrains
The Continue extension is available in the Visual Studio Marketplace.
Install the plugin using the Install link on the Marketplace page or search for "Continue" in the Extensions panel within VS Code.
You can also install from the CLI:
code --install-extension Continue.continue
If you need help, see Managing Extensions in the VS Code documentation.
The Continue plugin is available in the JetBrains Marketplace and is compatible with all JetBrains IDEs including IntelliJ IDEA, GoLand, PyCharm, and more.
Install the plugin from your IDE settings. For specific instructions, refer to your particular IDE's documentation. For example:
Configure Continue to use CodeGate
To configure Continue to send requests through CodeGate:
-
Set up the chat and autocomplete settings in Continue for your desired AI model(s).
-
Open the Continue configuration file,
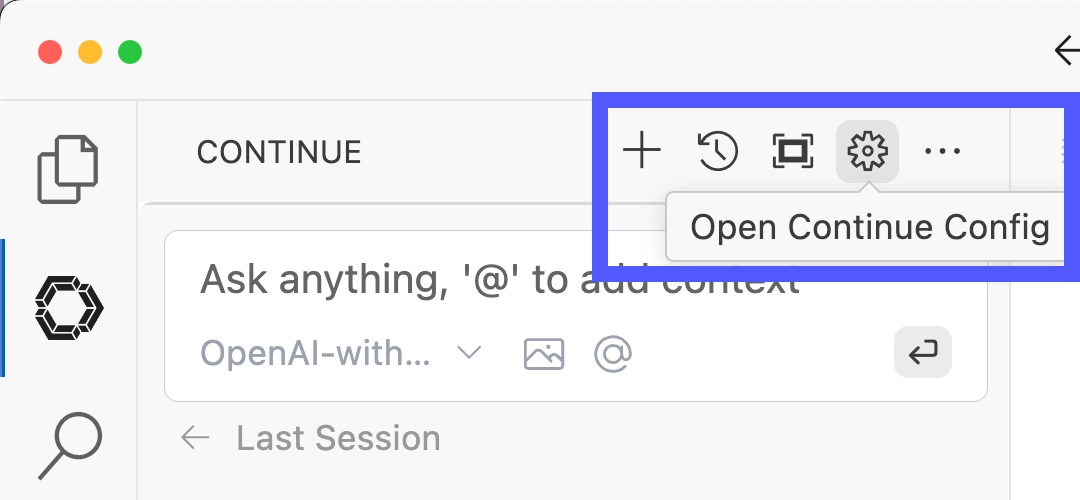
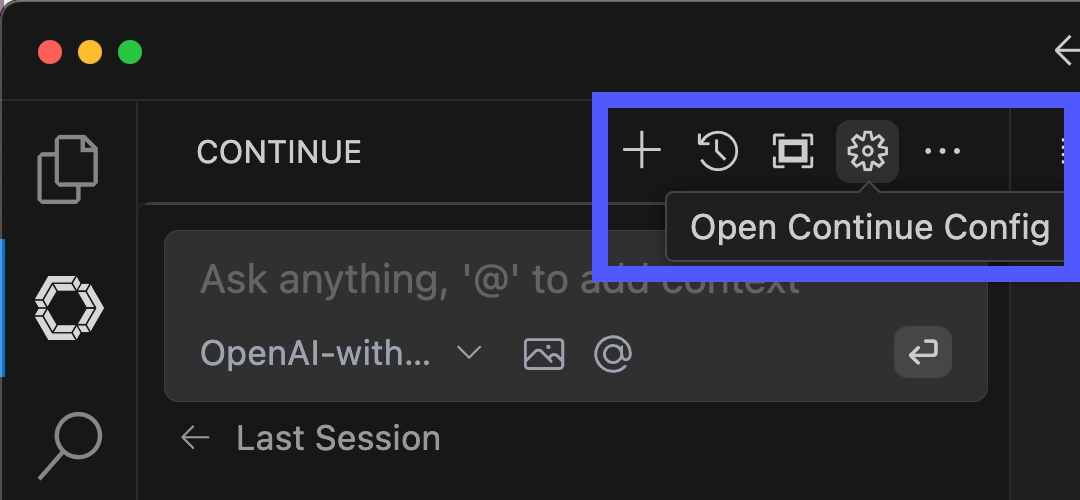
~/.continue/config.json. You can edit this file directly or access it from the gear icon ("Configure Continue") in the Continue chat interface.

-
Add the
apiBaseproperty to themodelsentry (chat) andtabAutocompleteModel(autocomplete) sections of the configuration file. This tells Continue to use the CodeGate CodeGate container running locally on your system as the base URL for your LLM API, instead of the default."apiBase": "http://127.0.0.1:8989/<provider>"Replace
/<provider>with one of:/v1/mux(for CodeGate muxing),/anthropic,/ollama,/openai,/openrouter, or/vllmto match your LLM provider.If you used a different API port when launching the CodeGate container, replace
8989with your custom port number. -
Save the configuration file.
JetBrains users: restart your IDE after editing the config file.
Below are examples of complete Continue configurations for each supported provider. Replace the values in ALL_CAPS. The configuration syntax is the same for VS Code and JetBrains IDEs.
- CodeGate muxing
- Anthropic
- Ollama
- OpenAI
- OpenRouter
- vLLM
- llama.cpp
Auto-completion support: currently, CodeGate muxing does not work with
Continue's tabAutocompleteModel setting for fill-in-the-middle (FIM). We are
working to resolve this issue.
DeepSeek models: there is a bug in the current version (v0.8.x) of Continue
affecting DeepSeek models (ex: deepseek/deepseek-r1) To resolve this, switch
to the pre-release version (v0.9.x) of the Continue extension.
First, configure your provider(s) and select a model for each of your workspace(s) in the CodeGate dashboard.
Configure Continue as shown. Note, the model and apiKey settings are
required by Continue, but their value is not used.
{
  "models": [
    {
      "title": "CodeGate-Mux",
      "provider": "openai",
      "model": "fake-value-not-used",
      "apiKey": "fake-value-not-used",
      "apiBase": "http://localhost:8989/v1/mux"
    }
  ],
  "modelRoles": {
    "default": "CodeGate-Mux",
    "summarize": "CodeGate-Mux"
  },
  "tabAutocompleteModel": {
    "title": "CodeGate-Mux-Autocomplete",
    "provider": "openai",
    "model": "fake-value-not-used",
    "apiKey": "fake-value-not-used",
    "apiBase": "http://localhost:8989/v1/mux"
  }
}
You need an Anthropic API account to use this provider.
Replace MODEL_NAME with the Anthropic model you want to use. We recommend
claude-3-5-sonnet-latest.
Replace YOUR_API_KEY with your
Anthropic API key.
{
  "models": [
    {
      "title": "CodeGate-Anthropic",
      "provider": "anthropic",
      "model": "MODEL_NAME",
      "apiKey": "YOUR_API_KEY",
      "apiBase": "http://localhost:8989/anthropic"
    }
  ],
  "modelRoles": {
    "default": "CodeGate-Anthropic",
    "summarize": "CodeGate-Anthropic"
  },
  "tabAutocompleteModel": {
    "title": "CodeGate-Anthropic-Autocomplete",
    "provider": "anthropic",
    "model": "MODEL_NAME",
    "apiKey": "YOUR_API_KEY",
    "apiBase": "http://localhost:8989/anthropic"
  }
}
You need Ollama installed on your local system with the server running
(ollama serve) to use this provider.
CodeGate connects to http://host.docker.internal:11434 by default. If you
changed the default Ollama server port or to connect to a remote Ollama
instance, launch CodeGate with the CODEGATE_OLLAMA_URL environment variable
set to the correct URL. See Configure CodeGate.
Replace MODEL_NAME with the names of model(s) you have installed locally using
ollama pull. See Continue's
Ollama provider documentation.
We recommend the Qwen2.5-Coder series of models. Our minimum recommendation is:
qwen2.5-coder:7bfor chatqwen2.5-coder:1.5bfor autocomplete
These models balance performance and quality for typical systems with at least 4 CPU cores and 16GB of RAM. If you have more compute resources available, our experimentation shows that larger models do yield better results.
{
  "models": [
    {
      "title": "CodeGate-Ollama",
      "provider": "ollama",
      "model": "MODEL_NAME",
      "apiBase": "http://localhost:8989/ollama"
    }
  ],
  "modelRoles": {
    "default": "CodeGate-Ollama",
    "summarize": "CodeGate-Ollama"
  },
  "tabAutocompleteModel": {
    "title": "CodeGate-Ollama-Autocomplete",
    "provider": "ollama",
    "model": "MODEL_NAME",
    "apiBase": "http://localhost:8989/ollama"
  }
}
You need an OpenAI API account to use this provider.
Replace MODEL_NAME with the OpenAI model you want to use. We recommend
gpt-4o.
Replace YOUR_API_KEY with your
OpenAI API key.
{
  "models": [
    {
      "title": "CodeGate-OpenAI",
      "provider": "openai",
      "model": "MODEL_NAME",
      "apiKey": "YOUR_API_KEY",
      "apiBase": "http://localhost:8989/openai"
    }
  ],
  "modelRoles": {
    "default": "CodeGate-OpenAI",
    "summarize": "CodeGate-OpenAI"
  },
  "tabAutocompleteModel": {
    "title": "CodeGate-OpenAI-Autocomplete",
    "provider": "openai",
    "model": "MODEL_NAME",
    "apiKey": "YOUR_API_KEY",
    "apiBase": "http://localhost:8989/openai"
  }
}
OpenRouter is a unified interface for hundreds of commercial and open source models. You need an OpenRouter account to use this provider.
DeepSeek models: there is a bug in the current version (v0.8.x) of Continue
affecting DeepSeek models (ex: deepseek/deepseek-r1) To resolve this, switch
to the pre-release version (v0.9.x) of the Continue extension.
Replace MODEL_NAME with one of the
available models, for example
anthropic/claude-3.5-sonnet.
Replace YOUR_API_KEY with your
OpenRouter API key.
{
  "models": [
    {
      "title": "CodeGate-OpenRouter",
      "provider": "openrouter",
      "model": "MODEL_NAME",
      "apiKey": "YOUR_API_KEY",
      "apiBase": "http://localhost:8989/openrouter"
    }
  ],
  "modelRoles": {
    "default": "CodeGate-OpenRouter",
    "summarize": "CodeGate-OpenRouter"
  }
}
You need a vLLM server running locally or access to a remote server to use this provider.
CodeGate connects to http://localhost:8000 by default. If you changed the
default Ollama server port or to connect to a remote Ollama instance, launch
CodeGate with the CODEGATE_VLLM_URL environment variable set to the correct
URL. See Configure CodeGate.
A vLLM server hosts a single model. Continue automatically selects the available
model, so the model parameter is not required. See Continue's
vLLM provider guide
for more information.
If your server requires an API key, replace YOUR_API_KEY with the key.
Otherwise, remove the apiKey parameter from both sections.
{
  "models": [
    {
      "title": "CodeGate-vLLM",
      "provider": "vllm",
      "apiKey": "YOUR_API_KEY",
      "apiBase": "http://localhost:8989/vllm"
    }
  ],
  "modelRoles": {
    "default": "CodeGate-vLLM",
    "summarize": "CodeGate-vLLM"
  },
  "tabAutocompleteModel": {
    "title": "CodeGate-vLLM-Autocomplete",
    "provider": "vllm",
    "apiKey": "YOUR_API_KEY",
    "apiBase": "http://localhost:8989/vllm"
  }
}
Docker containers on macOS cannot access the GPU, which impacts the performance of llama.cpp in CodeGate. For better performance on macOS, we recommend using a standalone Ollama installation.
CodeGate has built-in support for llama.ccp. This is considered an advanced option, best suited to quick experimentation with various coding models.
To use this provider, download your desired model file in GGUF format from the
Hugging Face library.
Then copy it into the /app/codegate_volume/models directory in the CodeGate
container. To persist models between restarts, run CodeGate with a Docker volume
as shown in the
recommended configuration.
Example using huggingface-cli to download our recommended models for chat (at least a 7B model is recommended for best results) and autocomplete (a 1.5B or 3B model is recommended for performance):
# For chat functions
huggingface-cli download Qwen/Qwen2.5-7B-Instruct-GGUF qwen2.5-7b-instruct-q5_k_m.gguf --local-dir .
docker cp qwen2.5-7b-instruct-q5_k_m.gguf codegate:/app/codegate_volume/models/

# For autocomplete functions
huggingface-cli download Qwen/Qwen2.5-1.5B-Instruct-GGUF qwen2.5-1.5b-instruct-q5_k_m.gguf --local-dir .
docker cp qwen2.5-1.5b-instruct-q5_k_m.gguf codegate:/app/codegate_volume/models/
In the Continue config file, replace MODEL_NAME with the file name without the
.gguf extension, for example qwen2.5-coder-7b-instruct-q5_k_m.
{
  "models": [
    {
      "title": "CodeGate-llama.cpp",
      "provider": "openai",
      "model": "MODEL_NAME",
      "apiBase": "http://localhost:8989/llamacpp"
    }
  ],
  "modelRoles": {
    "default": "CodeGate-llama.cpp",
    "summarize": "CodeGate-llama.cpp"
  },
  "tabAutocompleteModel": {
    "title": "CodeGate-llama.cpp-Autocomplete",
    "provider": "openai",
    "model": "MODEL_NAME",
    "apiBase": "http://localhost:8989/llamacpp"
  }
}
Verify configuration
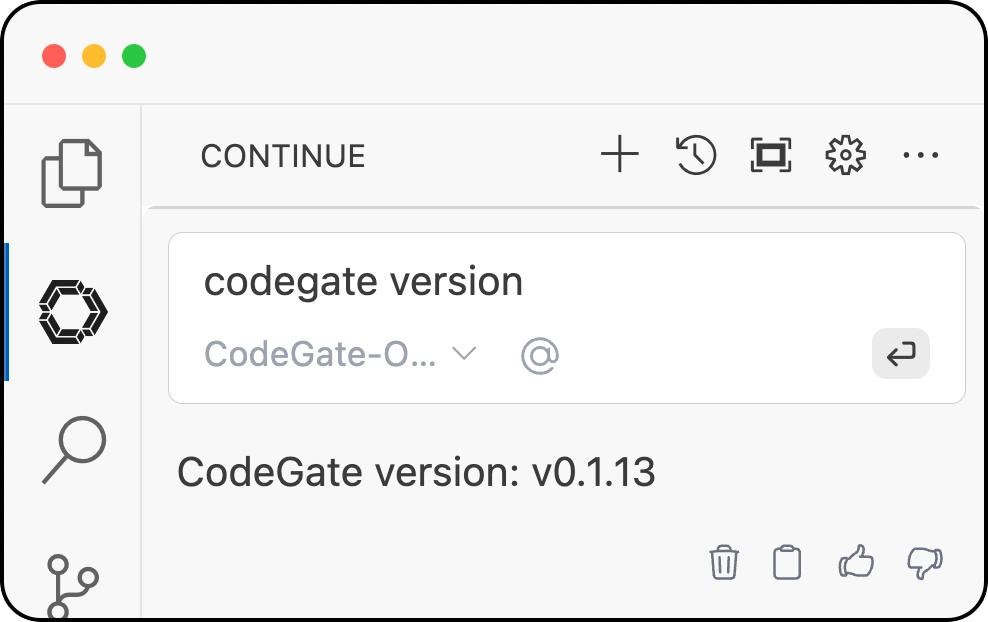
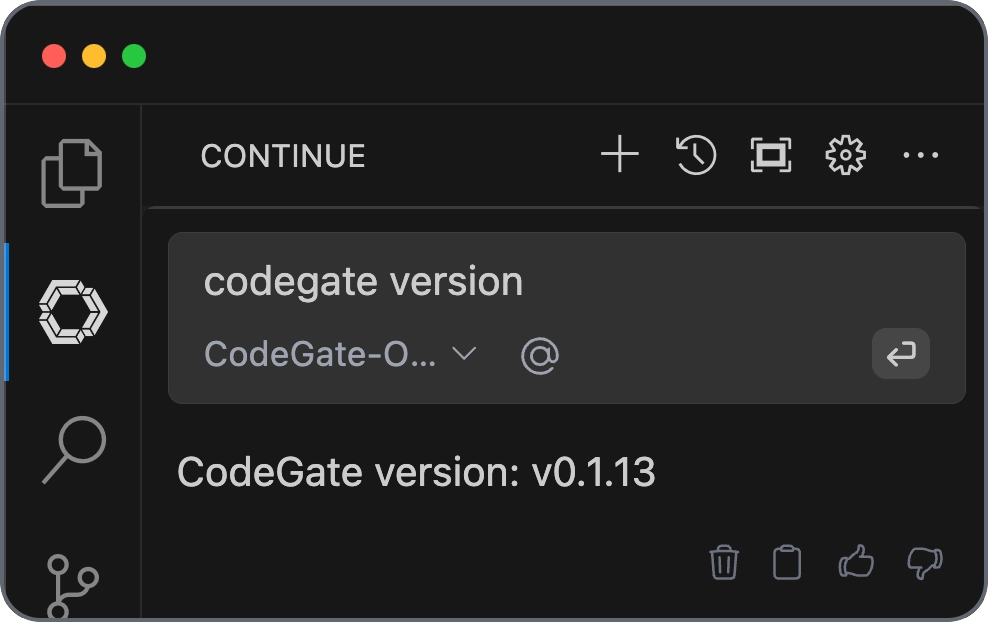
To verify that you've successfully connected Continue to CodeGate, open the
Continue chat and type codegate version. You should receive a response like
"CodeGate version 0.1.13":


Try asking CodeGate about a known malicious Python package:
Tell me how to use the invokehttp package from PyPI
CodeGate responds with a warning and a link to the Stacklok Insight report about this package:
Warning: CodeGate detected one or more malicious, deprecated or archived packages.

 • invokehttp: https://www.insight.stacklok.com/report/pypi/invokehttp

The `invokehttp` package from PyPI has been identified as malicious and should
not be used. Please avoid using this package and consider using a trusted
alternative such as `requests` for making HTTP requests in Python.

Here is an example of how to use the `requests` package:

...
Next steps
Learn more about CodeGate's features and how to use them: